
If you’ve been in the vibe coding fever lately, you’ve most likely encountered Cursor. It’s a code editing tool that sits on top of other top AI models, like Claude AI, o3, Gemini-2.5-Pro, and GPT-4.1, and ultimately transforms your coding experience.

According to the State of AI Web Dev survey, “Cursor has a dominant awareness lead amongst IDEs, with 82.2% of respondents having used it or heard of it, versus just 54.1% for runner-up Zed.”
This article uncovers the features you’re probably missing in Cursor AI and shares the practical workflows that have actually made a difference in my daily coding. No fluff – just the specific techniques that have proven most valuable through real project experience.

Getting started with Cursor AI
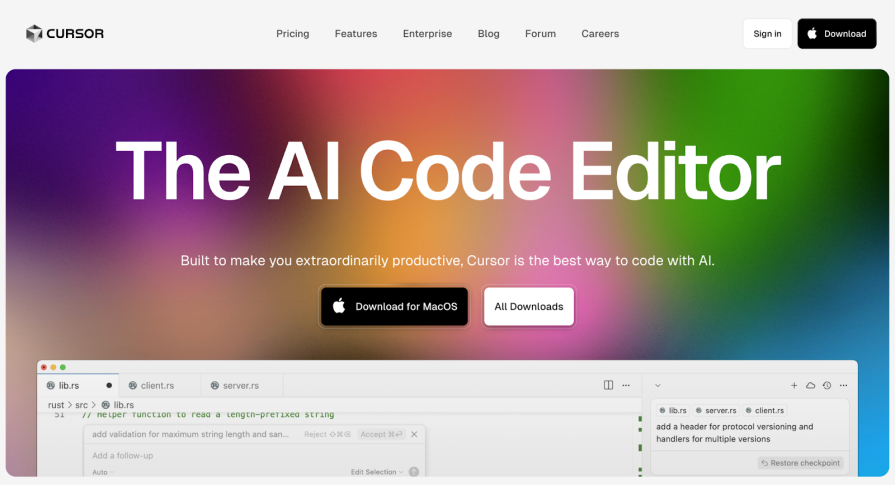
When you navigate to cursor.com, you can download the IDE:
After downloading and opening the code editor, this is what you’ll see:
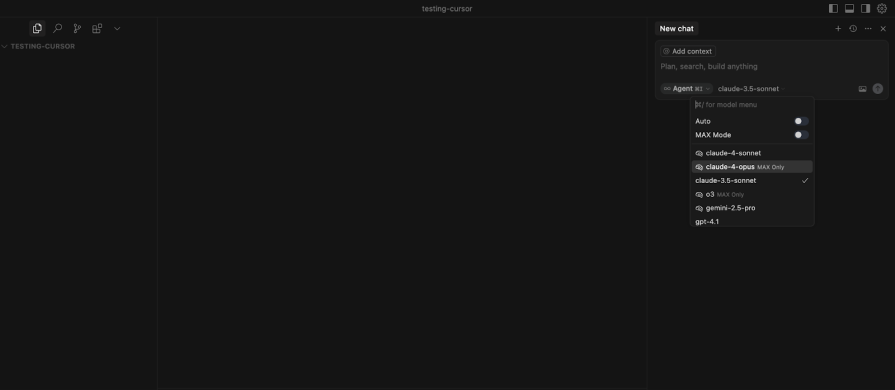
In the interface above, we observe a few things:
- Agent Mode – You’ll want to use the agent mode whenever you are coding. It helps handle end-to-end tasks
- Ask – If you click the Agent Mode dropdown:
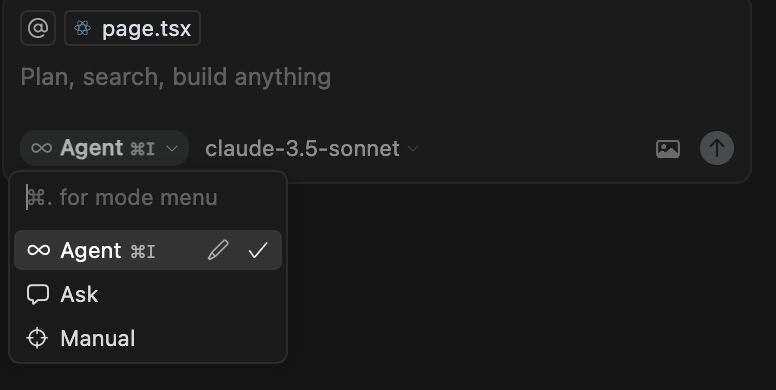
You’ll see the option “Ask” — use this when you want to pose a question, just like you would with ChatGPT.
- Model selection – This drop-down shows the list of favorite models to pick from
- Context integration – “Add context” button for using @ symbols (@docs, @web, etc.)
- Chat interface – “New chat”, used to start a new or follow-up conversation.
How to utilize these features
Traditional web development projects follow this workflow:
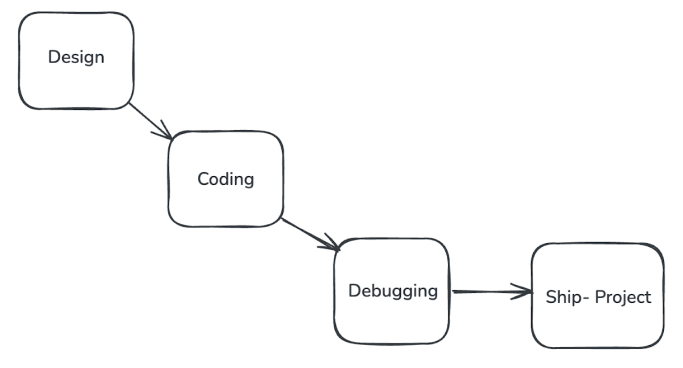
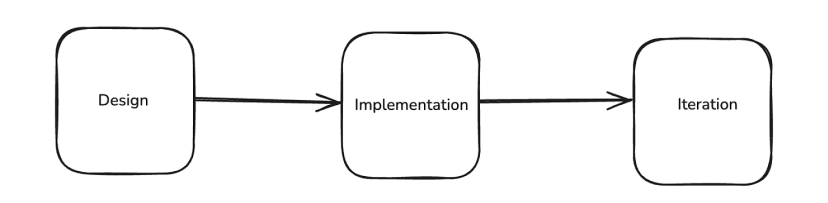
But when vibe coding, your workflow will look a little bit more like this:
If you’re building a product, you’ll most likely start with a design. Professionally, you should have a product design at hand.
If you do not have a design, you can use Cursor AI to generate an interface. Start by creating a new project; we’ll be using Next.js for this example.
Navigate to your terminal:
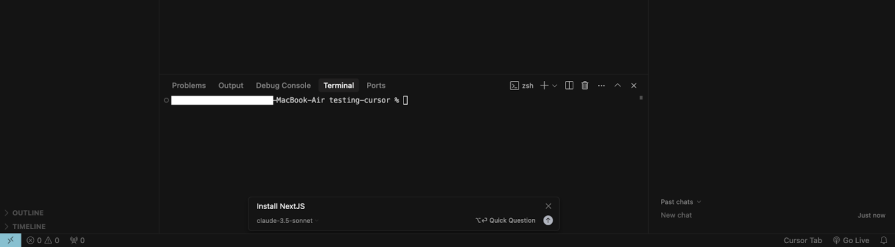
Use the shortcut Command+K, which is perfect for those moments when you forget basic commands (like “install Next.js“):
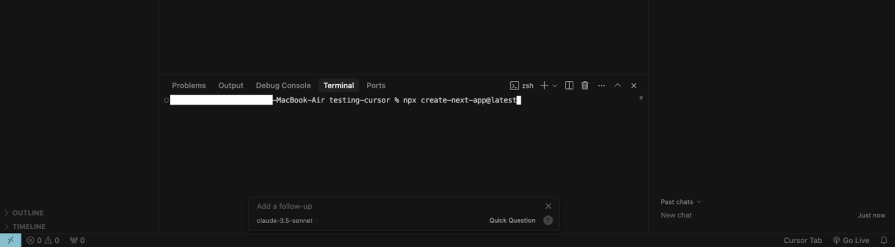
Now that we have our project installed, it’s time to prompt.
Building a sample project
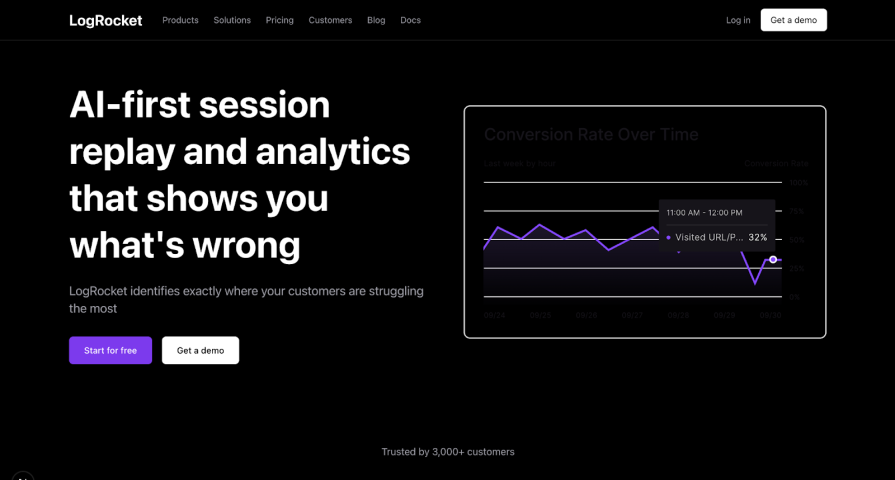
As a demo project, let’s try to rebuild something close to LogRocket’s landing page:

Using chat for a design prompt
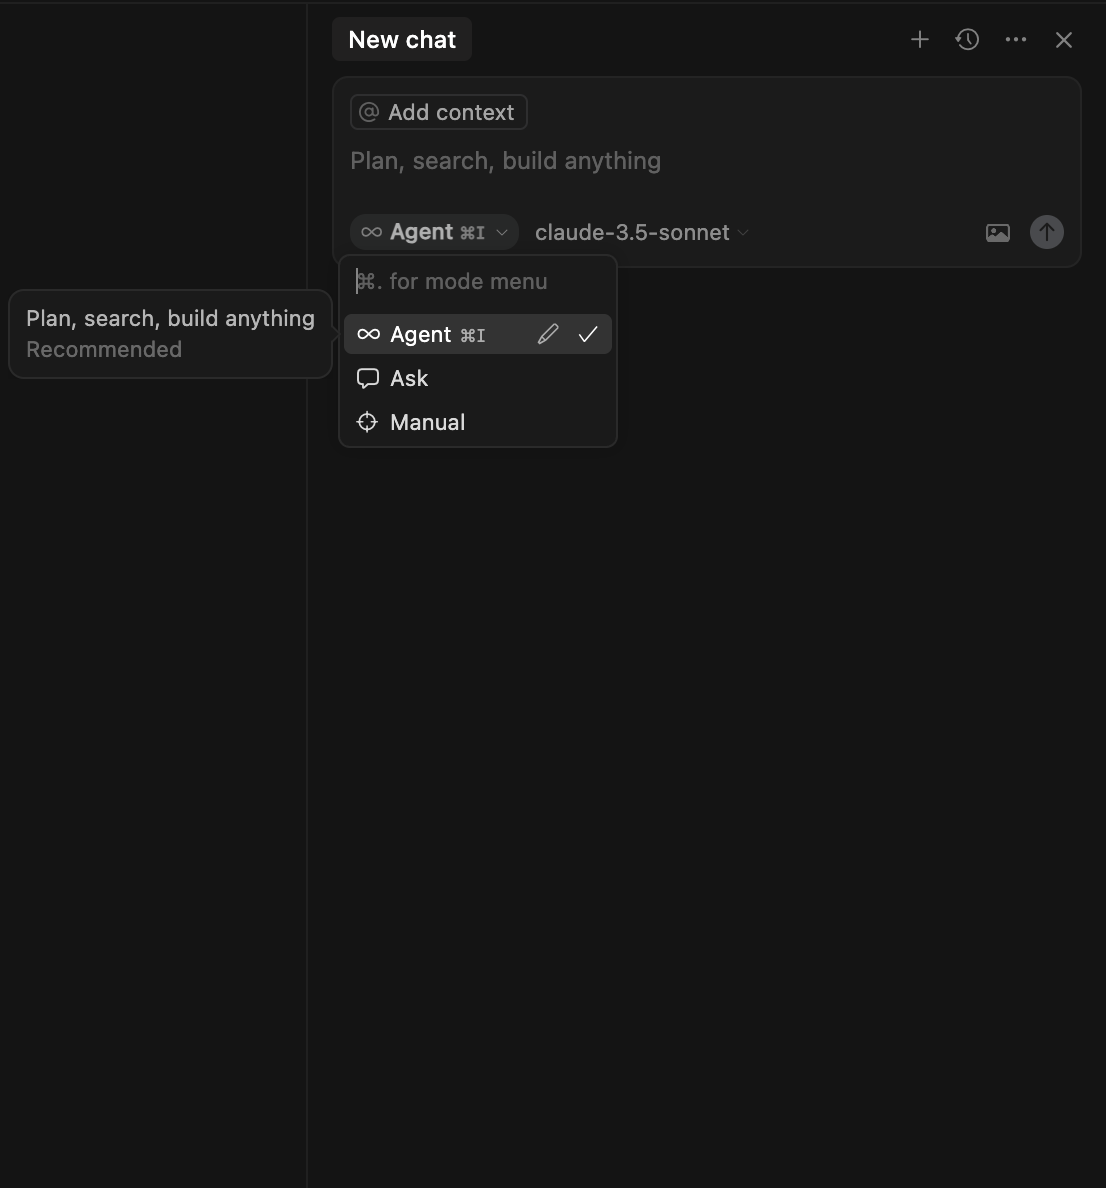
Navigate to New Chat.
Select Cursor Agent, and pick a model that you prefer. For me, I resonate more with Claude 3.5 Sonnet (I feel it’s the best for agent coding):
Now you can prompt it. Here is what my prompt looks like:
“In my page.tsx, re-create Logrocket’s landing page.”
Here’s what we get:
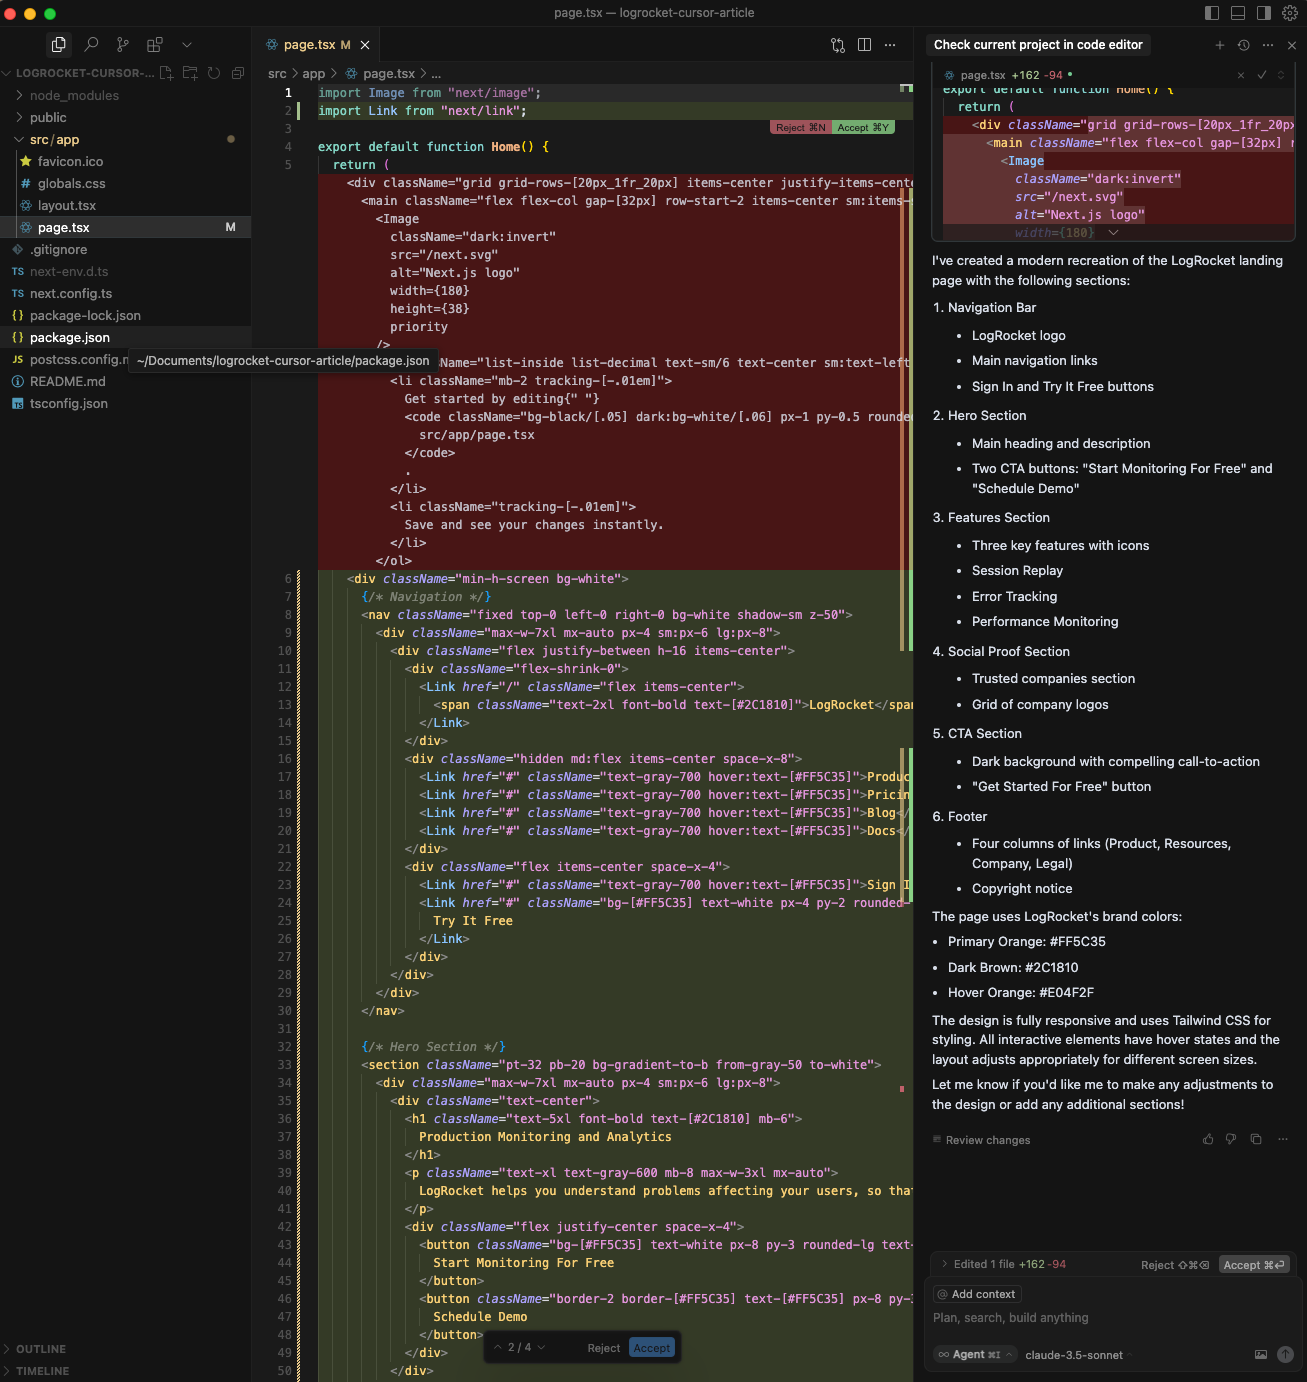
Accept the changes, and run your application using npm run dev:

This doesn’t look exactly like LogRocket’s landing page, but it’s pretty close. There are ways we could bring it closer using the image context.
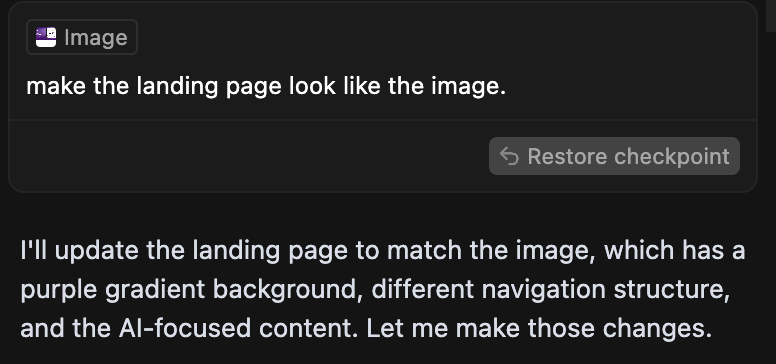
Attaching an image
Navigate to the chat, click the image icon, and attach an image. This should be an image of a design you’d like to replicate. In our case, I attached a screenshot of the LogRocket landing page.
After attaching the image, prompt Cursor to replicate the design. Here is what it looks like:

You can keep iterating on it to get the perfect resemblance.
While I was iterating, I did mess up the color:
Cursor found this a bit difficult to fix. In cases like this, we can easily revert to our previous design (where the color works) by clicking the Restore checkpoint. This can be found underneath the previous chat:
Now we’ve reverted back:

The Model Context Protocol (MCP) server
MCP is an open standard that enables developers to build secure, two-way connections between their data sources and AI-powered tools.
Framelink.ai built an MCP server for Figma, which allows you to directly access and work with design files in Cursor. Follow this guide to easily set it up.
More strategies to get the most out of Cursor
Utilizing AI Agent mode
You’ll most often be using the AI Agent mode when working with Cursor. This is a powerful feature that can:
- Install dependencies automatically (no more manual package management)
- Create and modify files across your entire project
- Run terminal commands with your confirmation
- Handle complex multi-file refactoring
- Implement complete features end-to-end
Context management with @ symbols
Understanding context management could boost your coding experience using Cursor. The @ symbol is how you tell Cursor what to look at or prioritize when helping you. The main @ types are;
- @code – Your entire project
- @web – Search the internet
- @docs – The documentation of that tool or library, could even be a framework
- @files and folders – Specific files
- Images – Drag & drop screenshots/designs
- @cursor rules – And even your past chats
Quick Examples
- Building a feature – @UserProfile.jsx Add an edit button
- Debugging – @auth.js @docs Why am I getting 401 errors?
- Learning – @web @package.json Add Tailwind to this Next.js project
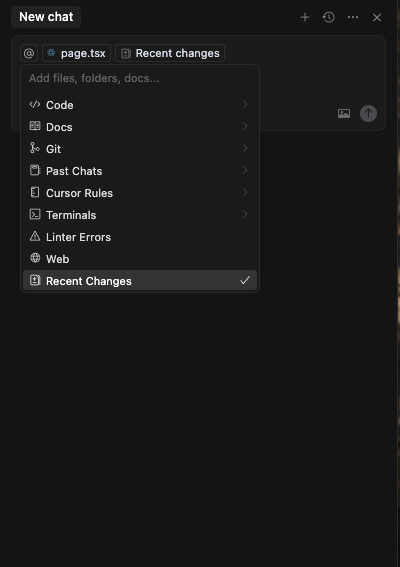
The “new chat” strategy
From experience, I advise you to always start a new chat for new features or projects. When you prompt something on top of older conversations, it can be distracting for the AI and reduce response quality.
Cursor has added a helpful feature that allows you to start a new chat with a summary of an old chat, giving you the best of both worlds – fresh context without losing important information.
Create a new chat with the Add button above, click the @ for context options, scroll to select Recent Changes, click it, and continue prompting:
Choose Claude 3.5 Sonnet as your AI model
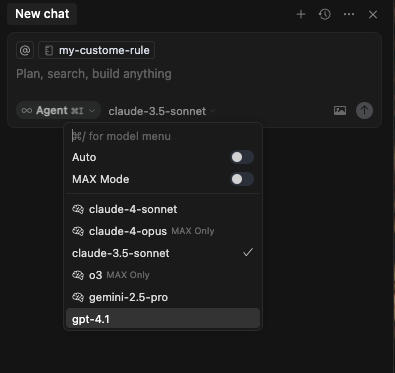
There are various top AI models with Cursor default AI included, but I have gravitated more to using Claude 3.5 Sonnet. I find that it gives the right amount of information without overloading the user.
Advanced autocomplete
Cursor Tab provides intelligent autocomplete. Mac users can highlight code, click Command + K, and ask it to do anything.
In the case of our landing page, I asked it to add more links:
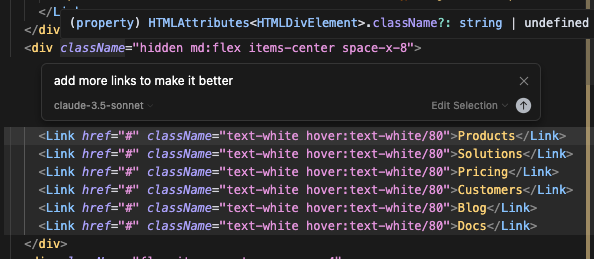
And it did:
elements like Products, Support, and Integrations.” width=”594″ height=”221″>
You can also ask it to do other things like:
- Suggest entire code blocks, not just single lines
- Learn from your recent changes and coding patterns
- Modifies multiple lines simultaneously
Custom rules with .cursorrules
Another important feature is the custom rules. You could create a .cursorrules file at your project root to define specific coding guidelines:
- Test-driven development workflows
- Code style preferences
- Technical writing standards
- Framework-specific conventions
Here are a few examples of .cursorrules files you could implement:
- Always use TypeScript with strict mode
- Write tests for every new function
- Use functional components in React
- Follow the company’s ESLint configuration
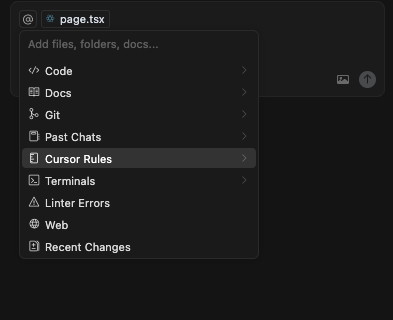
To set this up, navigate to the chat, click the @ symbol, and click Cursor Rules:
Add new rules:
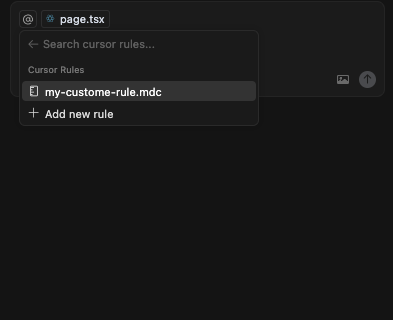
Give it a name, like my-custom-rules:
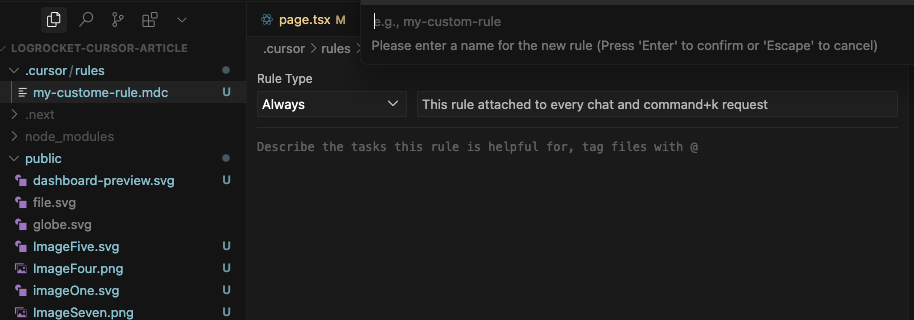
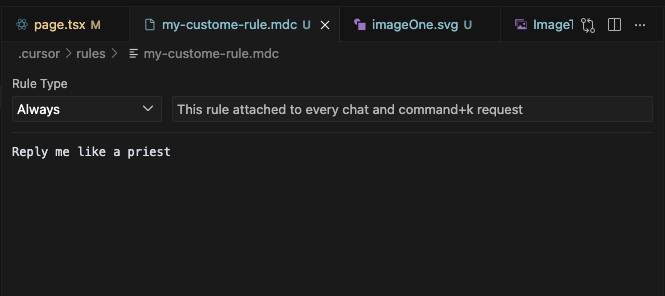
A .cursor/rules folder will be created. In Rule Type above, select Always; this enables your rules to be attached to every chat and Command+K request. Let’s test this in our chat.
My rule looks like this:
I toggled from Agent Mode to Ask mode, as I want to understand our codebase. When I asked, “What is in our page.tsx?” here is the reply:
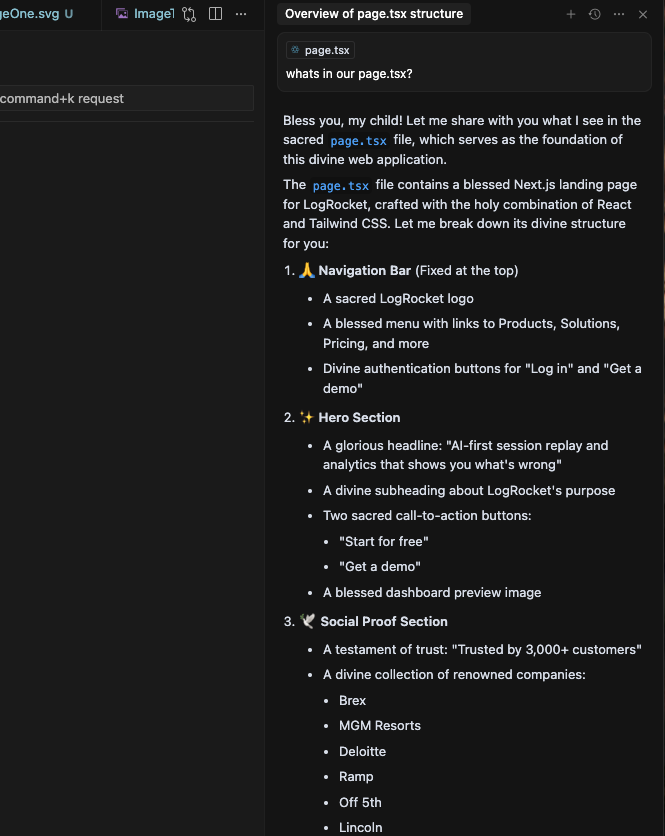
😂 This is obviously a funny one.
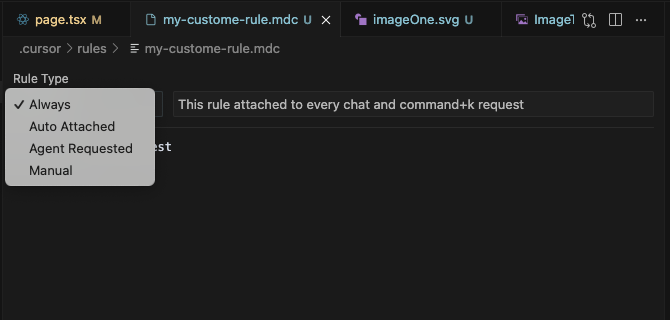
If you have different features you are implementing in different documents, you could have different files for rules. In this case, you’d set it to Manual rather than Always:
To utilize the rules in our chat, we will use the rules context of that particular rules file for any feature we would like to use it in.
A practical workflow for Cursor productivity
For maximum productivity, keep these rules in mind:
- Use Agent Mode 90% of the time
- Start new chats for new features
- Choose Claude 3.5 Sonnet as your primary model
- Master @ symbol context (
@code,@web,@docs,@files) - Be specific with context examples
- Use custom rules (
.cursorrules) - Leverage Command+K for quick tasks
- Utilize restore checkpoints
- Follow proper development flow (design → implementation → iteration)
You should be good from here.
.gitignore awareness
Lastly, something you need to note, Cursor respects your .gitignore file and avoids adding ignored content to its context window. Add your .env files to .gitignore to keep sensitive information secure.
Cheaper alternatives to Cursor AI
Cursor AI’s pricing seems to be on the high side.
Their hobby plan is free, Pro is capped at $20, and Teams is at $40. At the moment, the market demands affordable alternatives, as evident from these community discussions.
This pricing pressure has created opportunities for competitors like Windsurf and Copilot as more budget-friendly solutions.
Windsurf
Windsurf cut its prices across the board, and is getting rid of its complex system of flow action credits. Team plans are now $30 per user per month, down from $35. The current pricing structure shows:
- Individual pro plan – $15 per month vs Cursor’s $20
- Same core features – Both give you 500 fast premium requests
GitHub Copilot
GitHub Copilot presents an even more affordable alternative:
- Individual plan – $10/month offering 8 daily messages for GPT o1 preview and unlimited messages to the latest Claude 3.5, GPT 4o, and soon Gemini
- Free tier – Available for students, teachers, and maintainers
If pricing and value are paramount to you, it might be worth exploring these alternatives.
Final Thoughts
Whether you choose Cursor for its feature set or opt for a more affordable alternative, the key is understanding the AI-assisted development environment.
Start with Agent Mode, leverage context management with @ symbols, and always begin new chats for fresh features.
The future of coding is here and here to stay – embrace it with the tool that best fits your needs and budget. And as always, keep coding!


